Amy Meng, Reporter
@amengcourant
Have you ever been stuck at home overcome with boredom? Or ever felt the inclination to make your friend a gift but don’t have any ideas? Don’t worry, this blog has got you covered! Here are three paper crafts suitable for all levels of artists, whether you’re a beginner or have been crafting for a while.
Easy – Tissue Paper Flowers
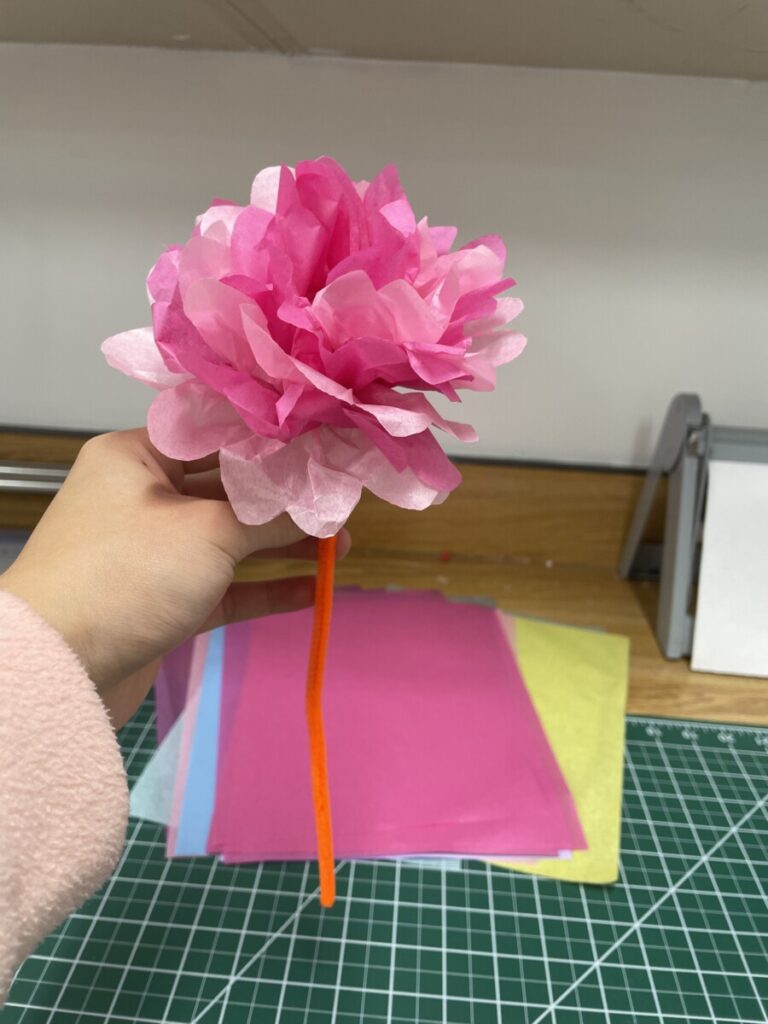
Tissue paper flowers are not only a fun and quick craft, but they also serve a wonderful gift for family and friends. With just a few materials, you can whip up a colorful bouquet.
You’ll need a few materials: Colored tissue paper, pipe cleaners, scissors, stapler.
- Tissue paper flowers are generally composed of three to six layers of colored tissue paper. For my particular flower, I used four rectangular pieces, with two lighter pink pieces and two darker pink pieces. However, you may choose whatever colors you like.
- Cut your tissue paper into smaller square or rectangular pieces. The larger your paper, the larger the flower will be, and vice versa. My pieces are 6.5 inches by 9 inches.
- Pile up the tissue paper in the order you’d like your flower petal layers to be. Make sure the edges are all lined up.
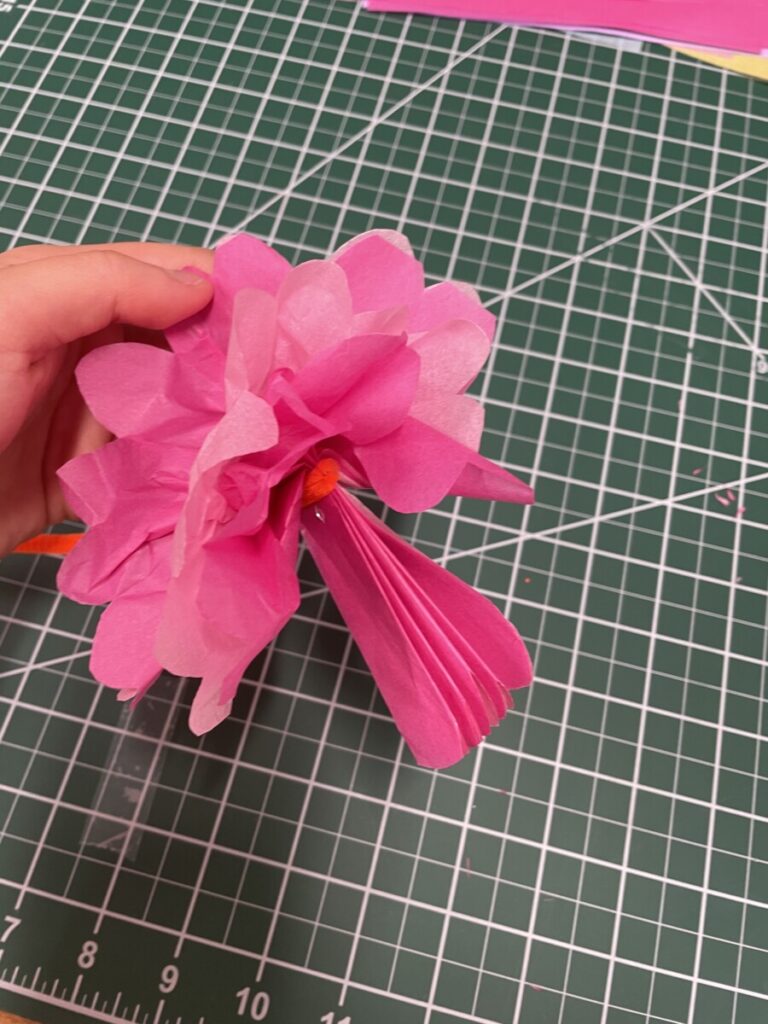
- Fold the pile of papers using the accordion fold method, or how you’d fold a paper fan. The wider each fold is, the wider the petals will be.
- Once you have folded the tissue paper, staple the middle horizontally.
- Wrap a pipe cleaner around the middle of the rectangular piece. Make sure to leave a long portion for the stem.
- Here comes the fun part! Take your pair of scissors and round the edges of the stapled tissue paper. This creates the petals.
- Now lift each layer individually. Be careful not to rip the paper. Ruffle the layers and your flower is complete.
If you make a few more tissue paper flowers, you can tie them together with a ribbon or another pipe cleaner, and you’ll have a beautiful bouquet.
Intermediate – Origami Paper Flower Wreath
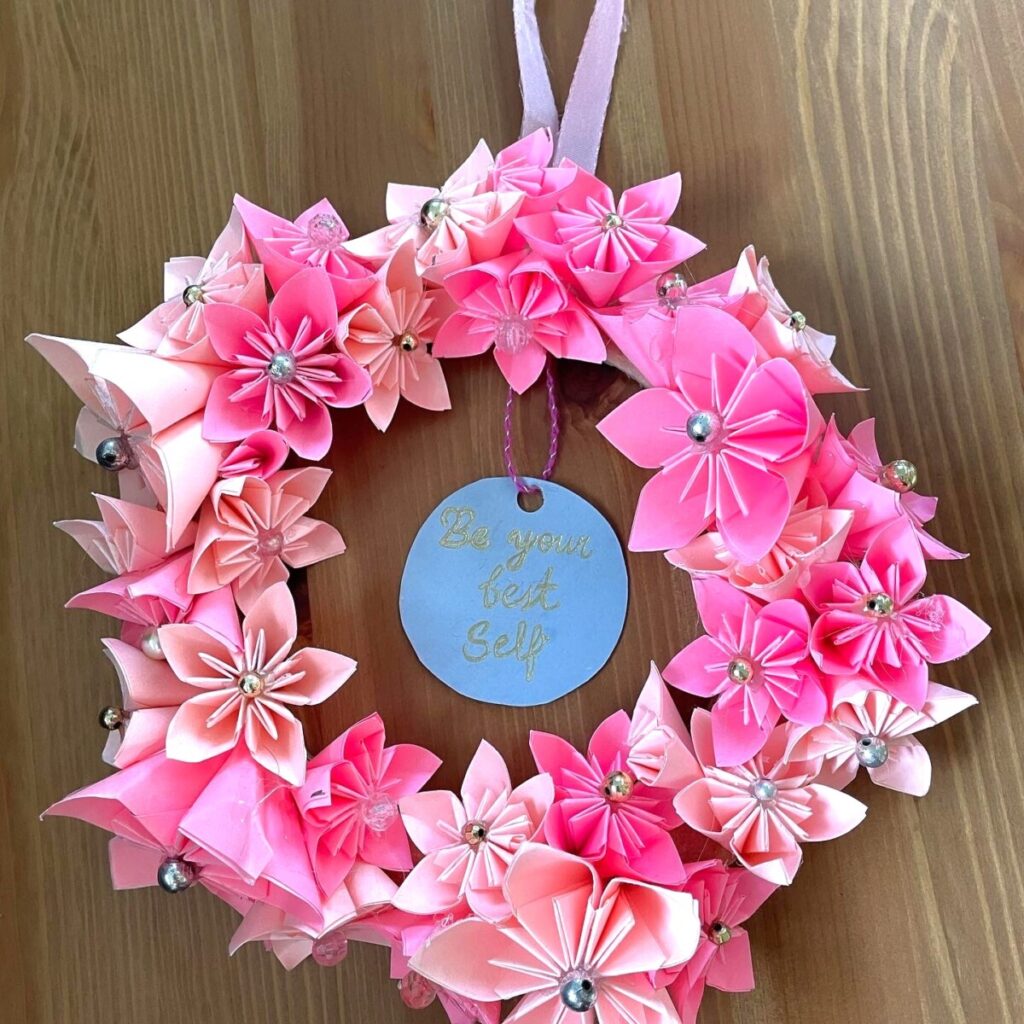
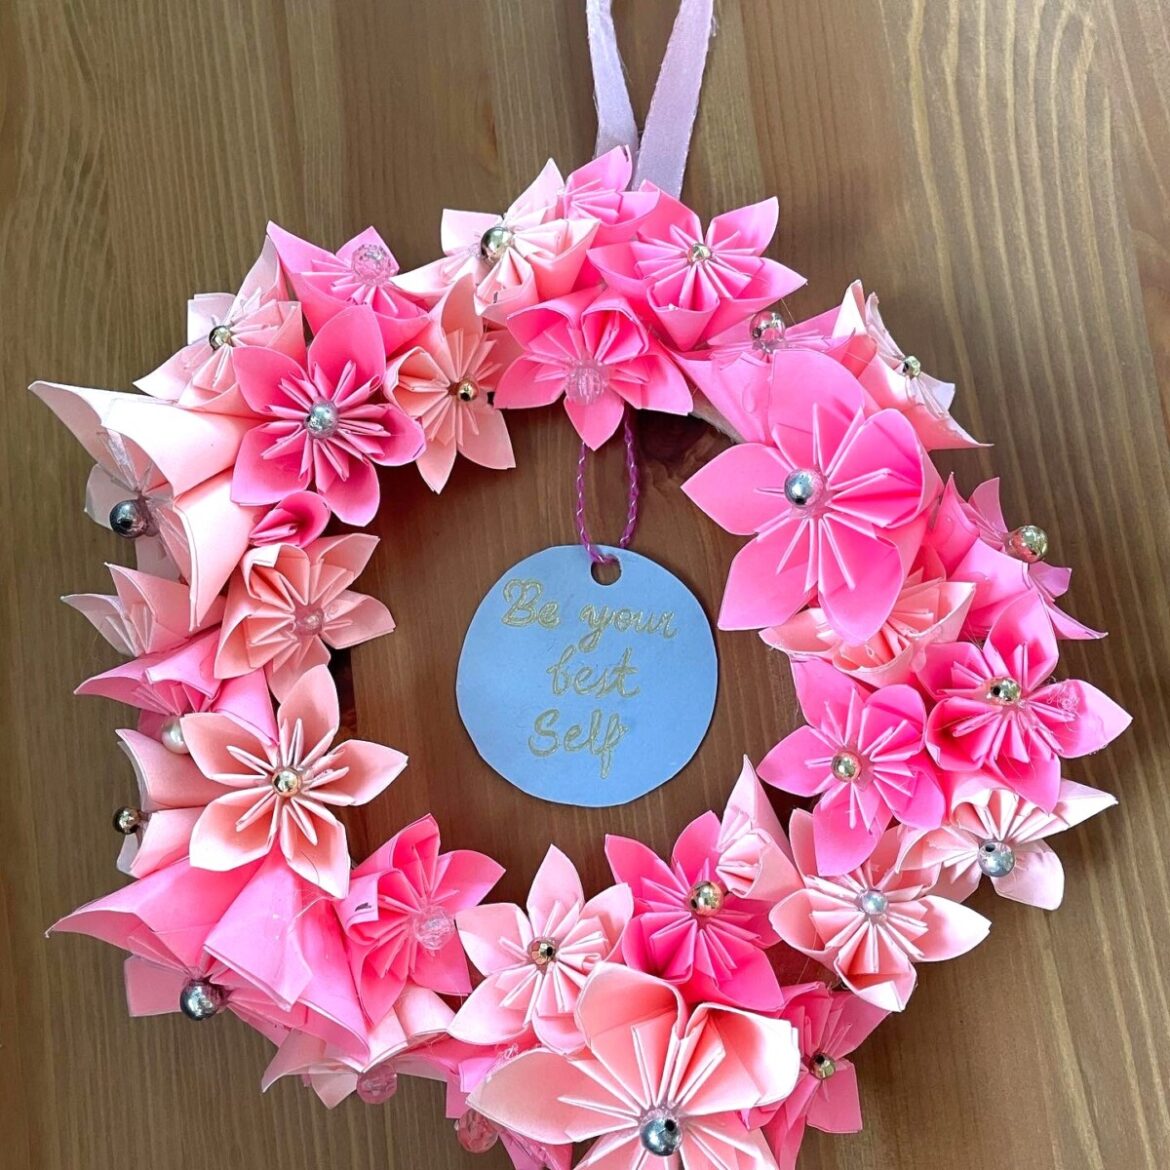
If you love origami, this might just be the craft for you! Although this craft may seem daunting, it is mostly just a repetitive job of making the flowers and gluing them onto the cardboard frame. The wreath can be a beautiful decoration for a wall or door.
The materials you’ll need are: Cardboard, colored paper, string/yarn, beads (optional), scissors, hole puncher, hot glue gun.
- Start by cutting out a hollowed out circle from the piece of cardboard. This will be the size of your wreath and where you’ll be gluing the paper flowers. Leave a 2-inch edge around the circle for enough room to glue your flowers.
- Cut around 6 inches of string or yarn and glue both ends to the back of the cardboard circle. This will serve as the wreath handle.
- Make your origami flowers! All kinds of flowers will look amazing on the wreath, but for the easiest gluing, I recommend making Kusudama origami flowers, and you can find the tutorials online. Making flowers with different shades of colors and sizes will give the final wreath a lot more variety and appeal. The number of flowers necessary depends on the size of the cardboard circle.
- Before gluing the flowers, cut a circle that can fit inside your hollowed circle as well and hole punch the top of the circle. Write a little message on the circle, then thread a 4 inch long string through the hole at the top and glue both ends to the front of the cardboard.
- Glue your flowers onto the wreath! Make sure there are no obvious gaps between each flower.
- Optional: add beads to the center of your flowers. Beads add an extra layer of spark to the wreath and glisten in the light.
Hard – Paper Flower Mobile
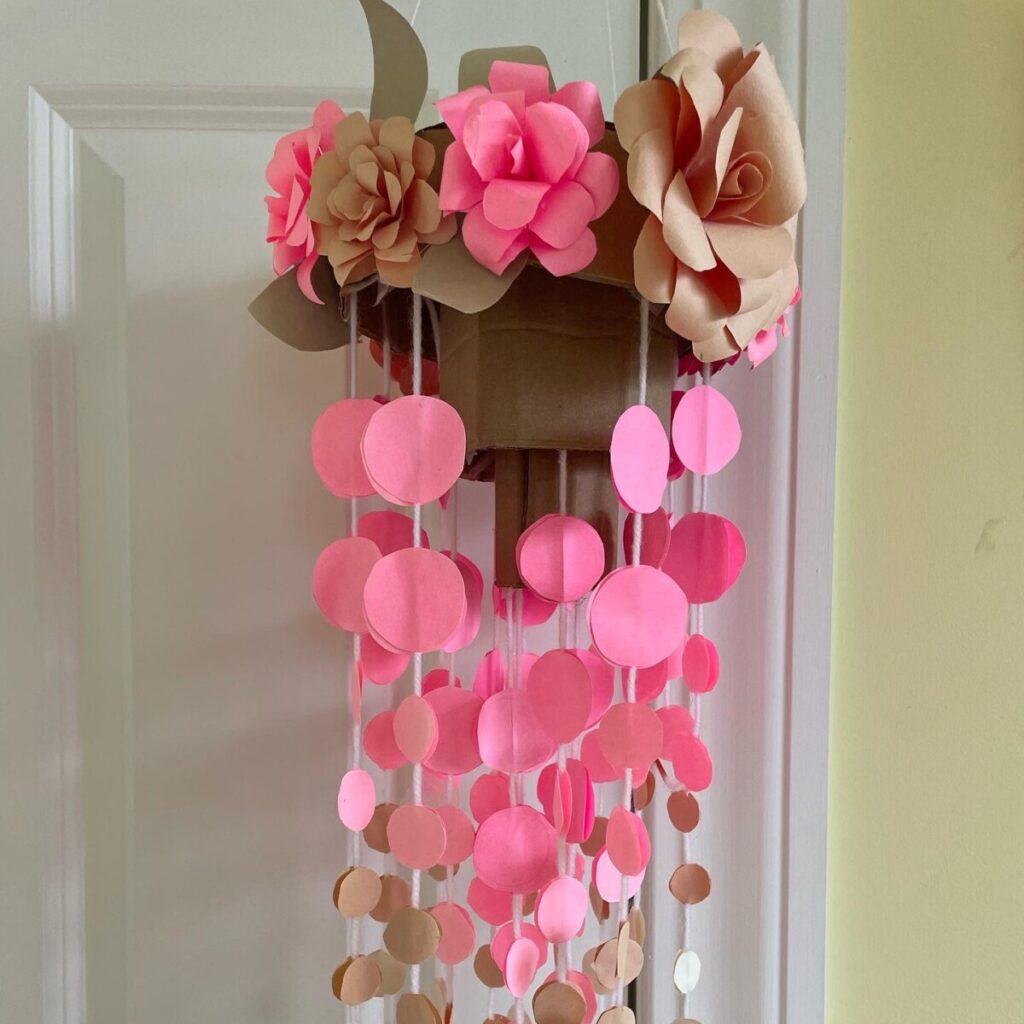
The paper flower mobile is a craft that requires a lot of skill and patience, as it consists of many different steps. The mobile is perfect to hang on the ceiling or another elevated area. The mobile is certainly not limited to being decorated with paper flowers, but I decided to stick with the theme.
The materials you’ll need are: Cardboard, colored paper, yarn, scissors, hole puncher, hot glue gun, tape.
- Cut three different sized circles from the cardboard. Then cut three long strips of cardboard that can wrap around the three circles. Hot glue each strip onto its corresponding cardboard circle so that you have 3 cylinders, each with an open face. Hot glue each cylinder in a reversed 3-tier cake pattern so that the largest cylinder is on top.
- Next, make your paper flowers! This time, simple paper roses will suffice. You can find tutorials for them online as well. If you have green paper, paper leaves would be a lovely addition. Hot glue the flowers and leaves onto the topmost curved surface, covering the entire surface.
- Cut circles of different colors and sizes. Depending on the size of your mobile, you may need between 50 to 300 paper circles.
- Cut 10 to 30 pieces of yarn of the same length. My pieces of yarn were around 1 foot long.
- Glue the yarn in between two same-sized circles that preferably are also the same color. Do this multiple times for each piece of yarn until each piece of yarn has 5 to 10 circles on each side.
- Tape the upper end of the yarn to the inside of the curved surfaces. Make sure there is equal space between each piece of yarn and make sure that all three layers are taped with yarn.
- Poke two holes in the middle of the top of the mobile and string a two feet long piece of yarn through the holes. Knot the two ends together.
Paper flower crafts can make beautiful decorations and the perfect gifts!

